

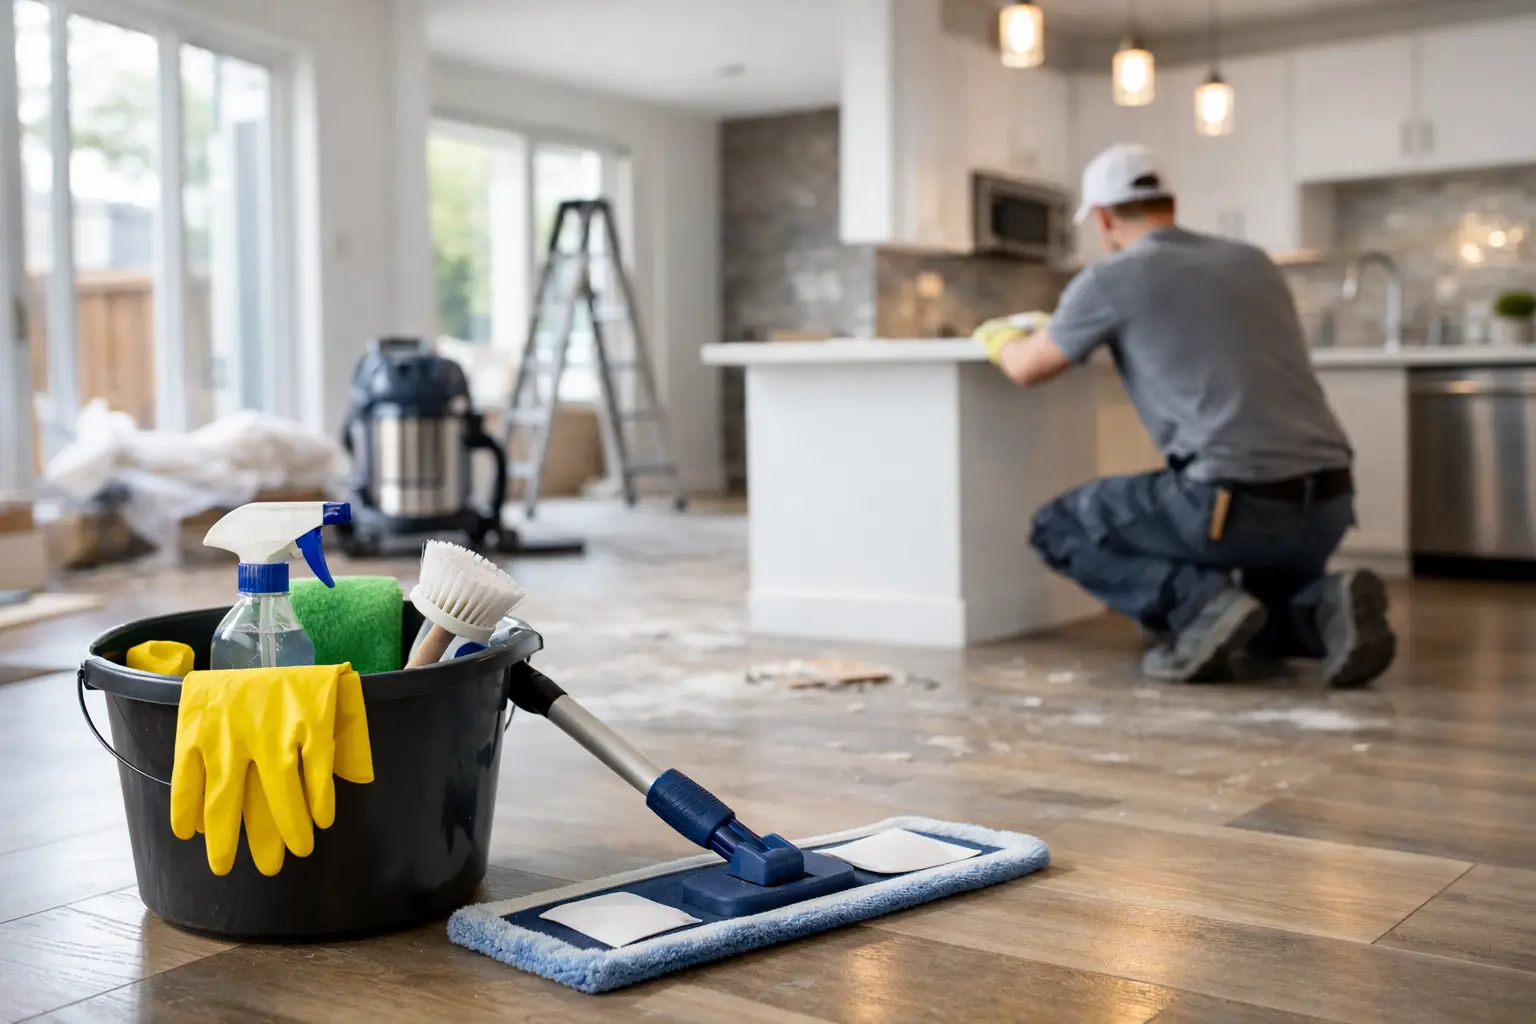
Fresh paint, new flooring, and updated fixtures can make a property look finished, but construction dust has a way of showing up everywhere: inside cabinets, along baseboards, on window tracks, and even in air vents. This post construction cleaning guide explains how to get a home, rental, office, or commercial space truly ready for move-in, opening day, or final inspection.
Post-construction cleaning is more detailed than routine house cleaning. The goal is not simply to make the room look presentable. It is to remove fine dust and leftover debris without scratching new surfaces, damaging finishes, or leaving residue behind for the next occupant to find.
Start Only When the Work Is Actually Complete
Cleaning too early often creates more work and more cost. Before the final cleaning begins, confirm that painting, drywall work, flooring installation, cabinet work, electrical finishing, and other dust-producing tasks are complete. Contractors should also remove their tools, large debris, packaging, and unused materials first.
A walk-through helps identify what needs attention. Check inside every cabinet and drawer, look at window sills and tracks, inspect light fixtures, and note paint splatter, adhesive residue, caulk smears, or labels left on appliances and glass. In a commercial space, include entryways, restrooms, break rooms, storage areas, and customer-facing surfaces in the inspection.
If additional trade work is still scheduled, it may make sense to arrange a rough clean now and a final detail clean later. That approach is especially helpful for larger renovations or tenant build-outs where several crews are still moving through the property.
Post Construction Cleaning Guide: Work From High to Low
The most reliable cleaning order is high to low, dry to wet, and back to front. This prevents dust from falling onto areas that have already been cleaned. Starting with floors may feel productive, but it usually means cleaning them again after the ceiling fixtures, vents, trim, and shelves are handled.
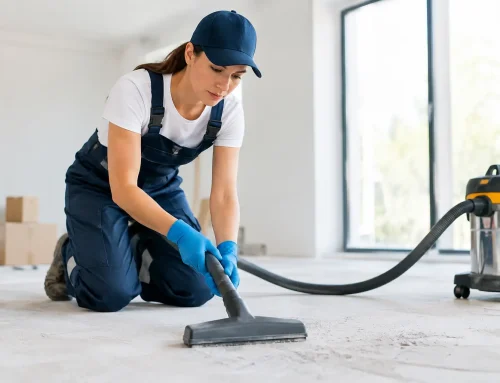
Begin by removing loose debris with a vacuum equipped with a HEPA filter, especially if drywall dust is present. Fine construction dust can quickly clog ordinary vacuum filters and may be pushed back into the air. Vacuum ceilings where practical, vents, upper ledges, trim, cabinet interiors, shelves, blinds, and window tracks before wiping.
Use clean microfiber cloths to capture dust rather than simply move it around. Change cloths often. A damp, well-wrung cloth works for many sealed surfaces, but avoid soaking unfinished wood, fresh grout, unsealed stone, or newly installed flooring. When in doubt, follow the flooring, countertop, and fixture manufacturer’s care guidance.
After upper surfaces are cleaned, move to walls, doors, trim, cabinets, counters, and fixtures. Finish with floors last. For a multi-room project, clean the room farthest from the exit first and work toward the door to avoid tracking dust back over completed spaces.
Treat New Finishes With Care
A newly renovated room may look durable, but several surfaces are vulnerable in the first days or weeks after installation. Fresh paint can scuff or dull if scrubbed aggressively. New hardwood or luxury vinyl flooring can be scratched by grit. Stone, tile, grout, and stainless steel can be damaged by the wrong product or abrasive pad.
Use the mildest effective cleaner first. Warm water and a pH-neutral cleaning product are often enough for sealed counters, painted trim, and many finished surfaces. Never use razor blades, steel wool, harsh acids, or strong solvents unless the surface manufacturer specifically permits them and the cleaner understands how to use them safely.
Paint splatter, tape adhesive, and construction residue require a more careful approach. Test any product in a hidden spot before using it across a visible surface. A small amount of residue may be safely lifted with the right product, while another surface may need the installer or contractor to correct it. Cleaning should not become a substitute for repair work.
Windows deserve extra attention. Dust and grit can scratch glass when wiped dry, so vacuum tracks and frames first. Then use a clean glass cloth and appropriate cleaner. Remove stickers and protective film carefully, especially on new appliances, mirrors, and shower glass, where adhesive can leave a stubborn residue.
Do Not Forget the Hidden Dust Zones
The dust you can see is only part of the job. Construction debris settles in places that are easy to overlook and becomes noticeable after the property is occupied. Cabinets, closets, drawer boxes, shelves, recessed lighting, door frames, and vent covers all need detailed attention.
Pay close attention to these high-impact areas:
- Window tracks, blinds, sills, and screens
- Baseboards, crown molding, trim, and door frames
- Ceiling fans, light fixtures, switches, and outlet covers
- Inside cabinets, drawers, closets, and storage shelves
- Appliance exteriors, handles, seals, and surrounding gaps
- Bathroom fixtures, shower glass, tile edges, and vanity interiors
For homes, these details make the difference between a space that looks newly renovated and one that feels ready to live in. For property managers, short-term rental hosts, and business owners, they also affect first impressions. Guests, tenants, employees, and customers notice dusty vents, dirty tracks, or residue on a newly installed counter right away.
Clean Floors According to the Material
Floor cleaning is the final major step, and it depends on what was installed. Vacuum hard surfaces first using a soft-floor setting or attachment that will not scratch. Then use a method approved for that floor type.
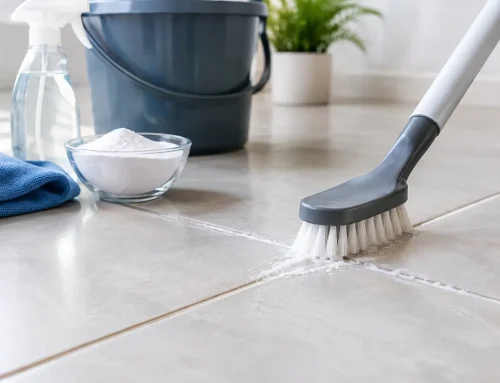
For tile, remove fine dust before mopping so grout lines do not become muddy. For hardwood, laminate, and luxury vinyl, use minimal moisture and avoid products that leave a heavy shine or waxy buildup unless the manufacturer recommends them. Newly refinished hardwood may have a cure time, so check with the flooring professional before wet cleaning.
Carpet requires more than a quick pass with a vacuum after construction. Fine dust can settle deep into fibers, particularly around room edges and under protective coverings. A thorough vacuum is usually the first step, but carpeting may need professional treatment if there are stains, adhesive, heavy soil, or a large amount of renovation dust.
Know When to Bring in Professional Help
A light renovation, such as repainting one room or replacing a vanity, may be manageable with time, patience, and the right tools. A whole-home remodel, new build, major flooring project, or commercial renovation is a different level of work. These projects can involve multiple cleaning rounds, detailed dust removal, large windows, high fixtures, specialty floors, and tight move-in deadlines.
Professional post-renovation cleaning is also a practical choice when you need the property prepared for a tenant turnover, real estate listing, grand opening, or short-term rental guest. The value is not just labor. It is having a coordinated plan, appropriate equipment, and a cleaner who knows how to work around new finishes.
For homeowners and businesses in Catawba County and nearby communities, CJ Cleaning Services can help coordinate post-construction and post-renovation cleaning with vetted independent cleaning professionals. Service can be tailored to the condition of the property, the size of the project, and whether you need a rough clean, final clean, or both.
Finish With a Final Walk-Through
Once the cleaning is complete, turn on lights, open cabinets, and view surfaces from more than one angle. Natural light and overhead lighting reveal dust differently. Run a clean hand across window sills, shelves, and counters. Look behind doors, under sinks, inside closets, and along floor edges.
Make sure trash is removed, fixtures are free of smudges, and restrooms are ready to use. In a business or rental property, confirm that the entry, public areas, and bathrooms are especially polished. Those are the spaces people experience first.
A renovation deserves a clean finish, not a last-minute sweep. Giving the final clean the same attention as the construction work helps protect your investment and lets the new space feel ready from the moment you walk through the door.