


Fresh paint looks great. Drywall dust on every surface does not. If you are figuring out how to clean after renovation, the real challenge is not just making the space look presentable. It is removing the fine dust, adhesive residue, and debris that settle into vents, trim, floors, and fixtures long after the contractors leave.
Post-renovation cleaning takes a different approach than routine housekeeping. Standard wipe-downs usually miss the particles that keep circulating through the air or sticking to surfaces. Whether you renovated a kitchen, updated a bathroom, finished an office build-out, or turned over a rental property, the goal is the same: make the space safe, comfortable, and truly ready to use.
How to clean after renovation the right way
The biggest mistake people make is cleaning in the wrong order. If you vacuum floors first, then dust ceiling fans and trim, you will end up doing the same work twice. Renovation dust travels everywhere, even into rooms where no work was done, so it helps to clean from top to bottom and from the farthest point of the room toward the exit.
Start by opening windows if weather allows and replacing or checking your HVAC filter. Fine construction dust can continue moving through the system after the work is finished. If the renovation was extensive, especially with sanding or drywall work, vent covers and returns may also need attention.
Before you begin detailed cleaning, remove all large debris, leftover materials, and protective plastic. Sweep up nails, tape pieces, packing scraps, and chunks of drywall carefully. This is also the time to check for anything that should not go into a standard household trash bag, such as paint products or contractor waste that requires separate disposal.
Start with dry dust removal
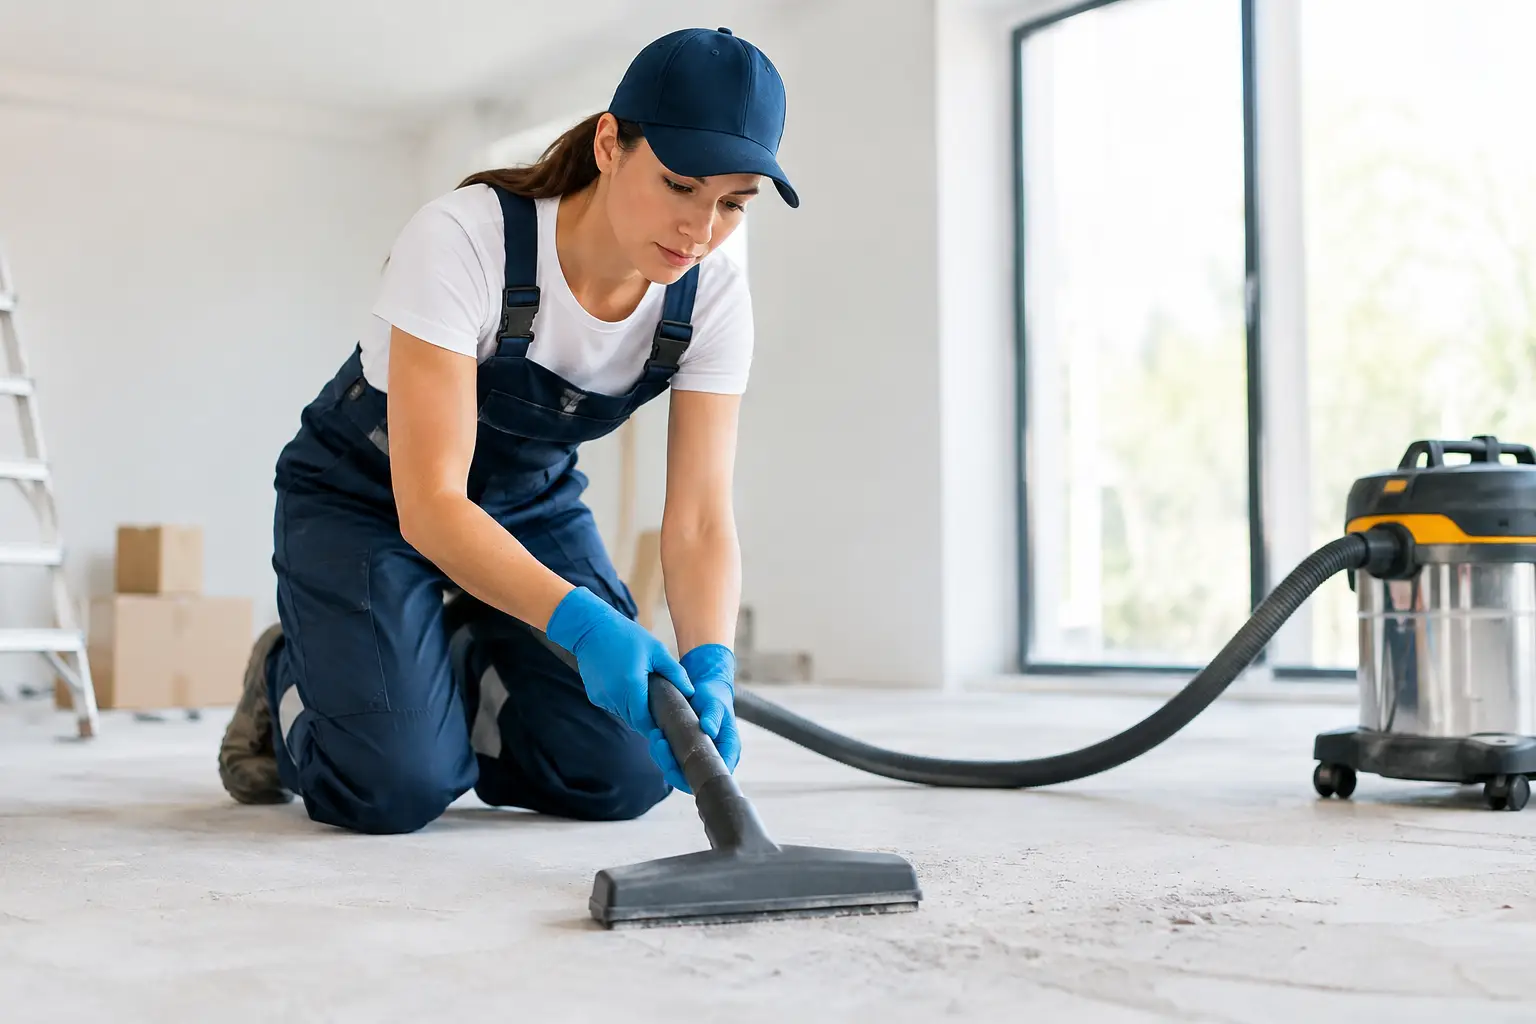
Dry dust is usually the main problem after renovation, and it needs patience. If you go straight in with a wet rag, you can turn fine dust into a paste that smears across walls, baseboards, and floors. A better first pass is dry removal using a vacuum with proper filtration and soft brush attachments.
Focus first on ceilings, light fixtures, vents, crown molding, door frames, blinds, and upper shelving. Then move to walls, window sills, trim, and baseboards. Upholstered furniture and curtains nearby may also hold dust, even if they were covered during the project.
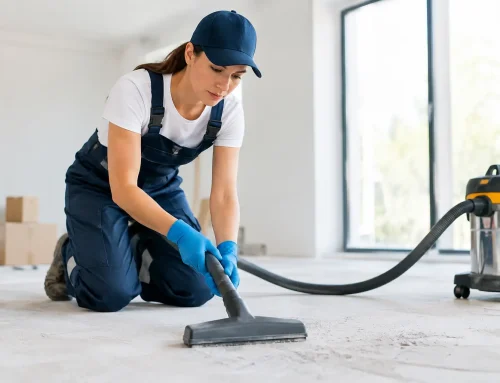
Floors should usually be vacuumed more than once. The first pass picks up visible material. The second often catches the fine layer that settles after the room has been disturbed. Hard-to-reach edges, corners, and under cabinets are where renovation residue tends to collect.
Wet cleaning comes after the dust is under control
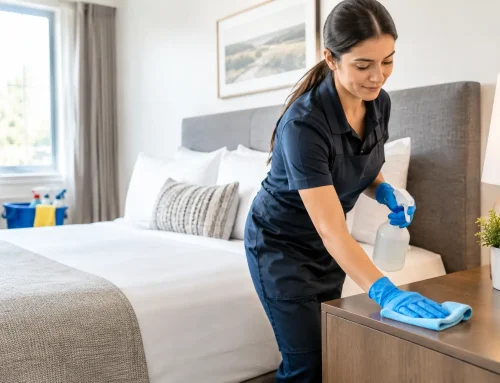
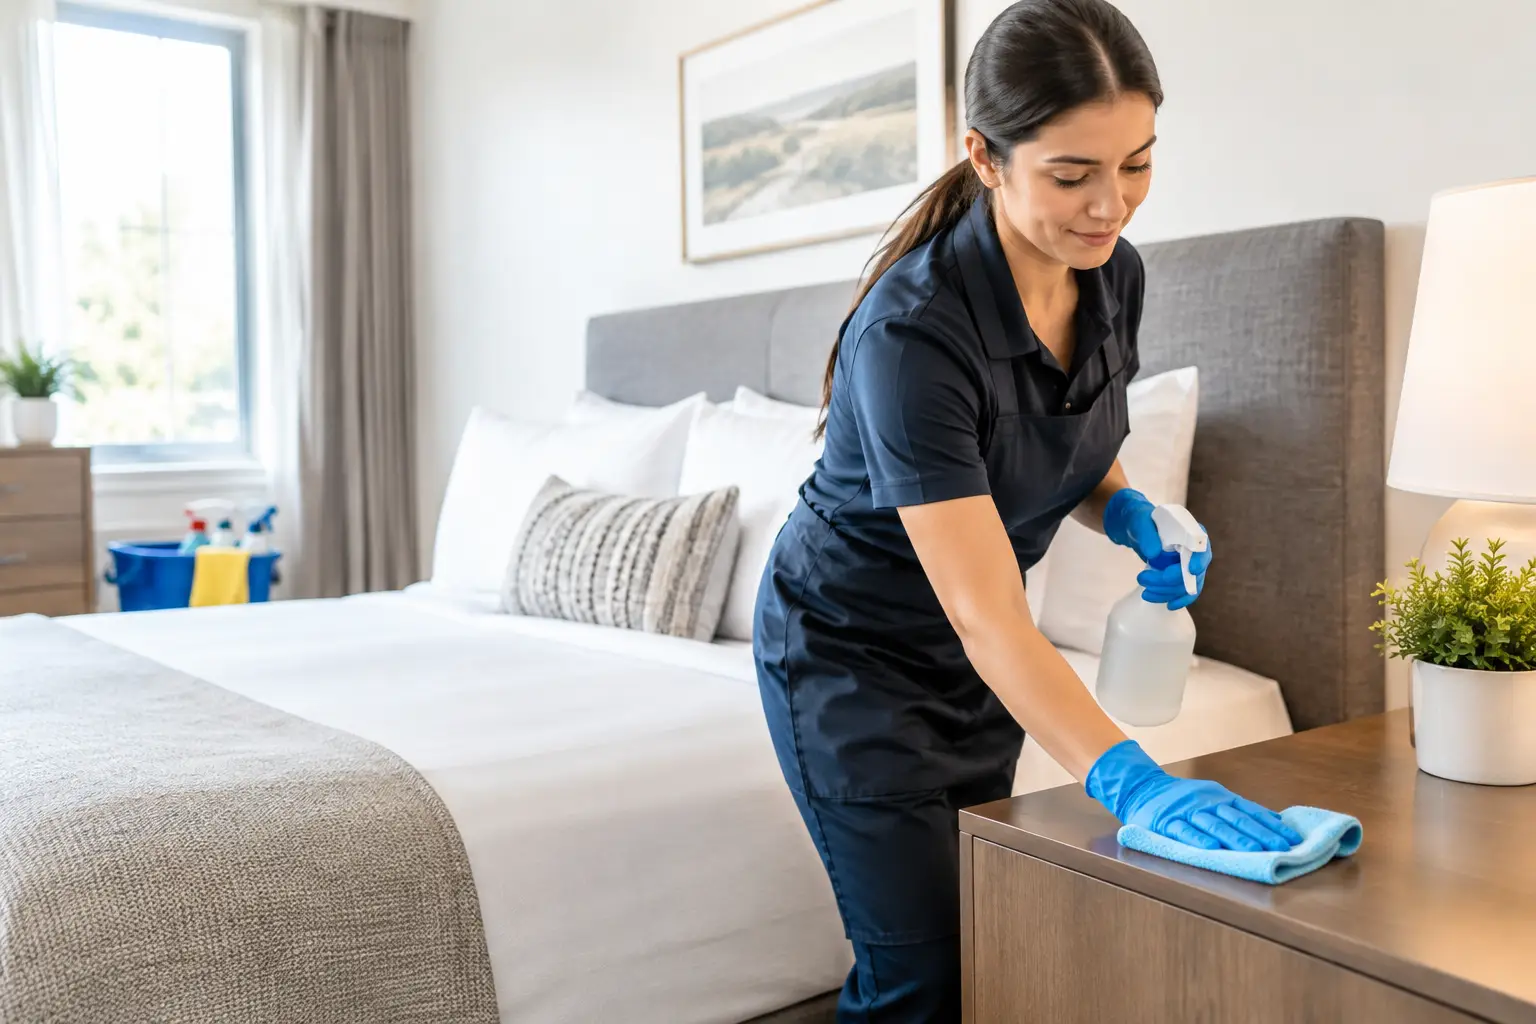
Once the loose dust is removed, wet cleaning is what brings the space back to life. Use damp microfiber cloths rather than soaking surfaces. Too much water can damage fresh finishes or spread residue around.
Wipe counters, cabinets, doors, trim, switch plates, and any flat surfaces that may have caught dust. In kitchens and bathrooms, check for caulk smears, adhesive residue, and light paint splatter. These often need a gentle but targeted approach rather than aggressive scrubbing.
Glass needs special attention after renovation. Windows, mirrors, shower doors, and glass partitions often end up with a haze from dust and fingerprints. Clean them after surrounding frames and sills are done, otherwise you will be redoing them.
Floors need a surface-specific approach
One reason post-renovation cleanup can be frustrating is that every flooring material reacts differently. What works on tile may not be right for hardwood, and a heavy scrub can do more harm than good on newer finishes.
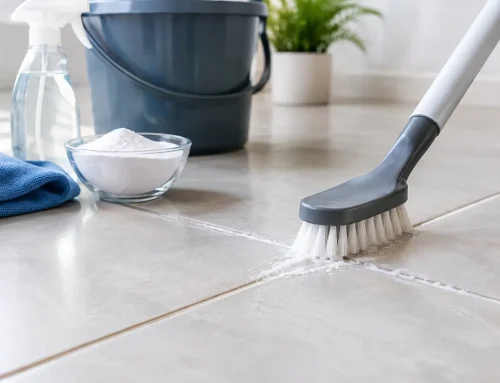
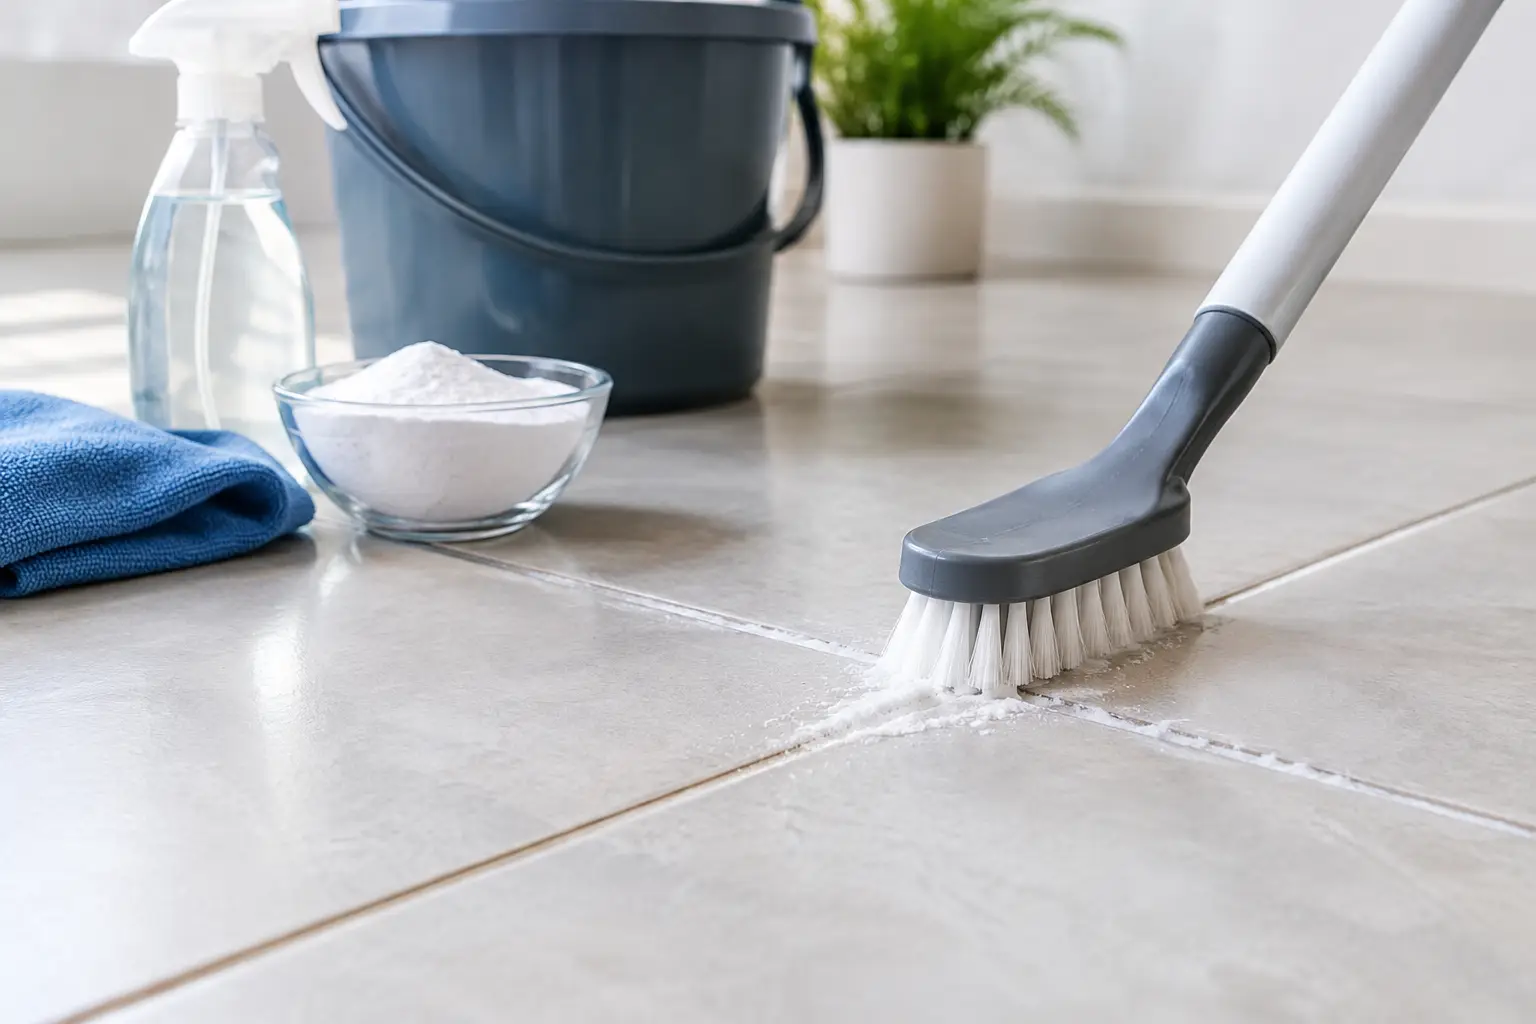
For hardwood and luxury vinyl plank, vacuum first with a soft floor attachment and then use a lightly damp mop approved for that material. Avoid over-wetting the floor, especially if the renovation included recent installation or refinishing. On tile, dust can settle into grout lines, so it may take more than one pass to fully lift the residue. Carpet often traps the finest particles, which is why a thorough vacuum and, in some cases, professional carpet cleaning can make a noticeable difference.
If the project involved stripping old flooring, sanding, or tile cutting, expect more residue than usual. In that case, the floor may look clean at first and still leave a dusty film on socks or shoes later. That is a sign the room needs another detailed pass.
Do not overlook cabinets, closets, and hidden surfaces
Renovation dust rarely stays in open areas only. It gets inside drawers, cabinets, pantry shelves, linen closets, and built-ins. If contractors were moving materials through the home or business, even rooms far from the work zone may need attention.
Pull out drawer interiors, shelf surfaces, and closet ledges into your cleaning plan. The same goes for appliance tops, behind toilets, under sinks, and around washer and dryer connections. These are easy to skip when you are eager to get the room back in service, but they are often where the lingering dust problem starts.
For rental properties and short-term rentals, hidden dust matters even more. Guests and new occupants notice it quickly, especially on dark furniture, closet shelves, and bathroom vents. A polished final result depends on those details.
Bathrooms and kitchens usually need extra detail
Bathrooms and kitchens are where renovation cleanup can become more technical. These spaces have more fixtures, tighter corners, and more surfaces that show residue. New faucets, tile, backsplashes, and appliances often carry a mix of dust, fingerprints, label adhesive, and installation debris.
Take a careful look at grout haze, caulk lines, hardware, and the edges where counters meet walls. Stainless steel appliances should be wiped with the grain to avoid streaks. Sinks and tubs may need rinsing and polishing after dust settles into the basin.
If the renovation was only in one of these rooms, it is still smart to check nearby areas. Hallways, entry points, and adjacent rooms usually collect tracked-in dirt and debris from foot traffic.
When DIY works and when it makes sense to call in help
Some renovation cleaning jobs are manageable on your own, especially if the project was small and the dust stayed contained. A single-room cosmetic update with limited cutting or sanding may just require time, good equipment, and a careful process.
Larger jobs are different. Full remodels, commercial renovations, move-in prep, and turnover cleaning for rentals often need more labor, more detailed attention, and better tools than most people keep on hand. If you are working on a deadline, juggling a move, reopening a business, or preparing for guests, professional post-renovation cleaning can save time and prevent the frustration of having to clean the same dust more than once.
That is especially true when multiple service needs overlap. A property may need dust removal, floor care, carpet cleaning, window cleaning, and a final deep clean all at once. For busy homeowners, property managers, and business owners in Catawba County and nearby communities, coordinating that work through a trusted local provider can make the process much easier.
How to know the space is really ready
A renovated space is not truly finished when the tools are gone. It is finished when surfaces feel clean, the air is clear, and people can move in or get back to work without dust following them from room to room.
Run your hand across baseboards, door frames, and shelves. Check vents, window sills, and the tops of cabinets. Look at floors in natural light. If there is still a film on dark surfaces or debris collecting in corners, the cleaning is not done yet.
At CJ Cleaning Services, LLC, we understand that the last step in any renovation is making the space feel complete. Whether it is a home, office, rental, or guest property, a reliable post-renovation clean helps protect the work you invested in and makes the transition easier for everyone using the space.
A clean finish does more than improve appearance. It gives you that clear signal that the project is finally over and the space is ready for real life again.