

Fresh paint, new flooring, and updated fixtures can make a room look finished – until a fine gray film settles on every ledge, cabinet, and windowsill. To remove dust after renovation properly, you need more than a quick vacuum and a surface wipe. Construction dust travels through vents, settles in hidden places, and can keep resurfacing for days if the cleanup happens in the wrong order.
For homeowners, property managers, and business owners, post-renovation cleaning is the final step that makes a remodeled space ready to use. A careful approach protects new finishes, improves indoor air quality, and prevents drywall dust or grit from being tracked into clean areas.
Why renovation dust is harder to clean than ordinary dust
Renovation dust is not the same as the everyday dust that collects between regular cleanings. It may contain drywall compound, sawdust, grout haze, insulation fibers, paint particles, plaster, or fine debris from concrete and tile work. These particles are small enough to settle inside drawers, along baseboards, behind appliances, and inside HVAC registers.
The biggest mistake is cleaning visible surfaces first and assuming the job is complete. If dust remains on ceiling fans, light fixtures, blinds, trim, or air vents, it will fall back onto floors and furniture after you finish. Working from high to low is what prevents repeated cleanup.
It also pays to be cautious around freshly completed work. New paint, caulk, flooring, counters, and fixtures may need time to cure. Harsh chemicals, abrasive pads, or too much moisture can damage a finish that looked perfect when the contractor left.
Before you remove dust after renovation, prepare the space
Start by making sure all major work is complete. Contractors should remove their tools, large debris, protective plastic, and leftover materials before detailed cleaning begins. If sanding, cutting, or touch-up painting is still underway, wait until that work stops. Cleaning too early usually means paying for the same work twice.
Open windows when weather allows, but do not rely on fresh air alone. Cross-ventilation helps move airborne particles out, yet it will not remove settled dust from surfaces. Turn off your HVAC system while the heaviest dust is being cleaned if possible, then replace the air filter before running it again. This helps keep dust from circulating throughout the home or office.
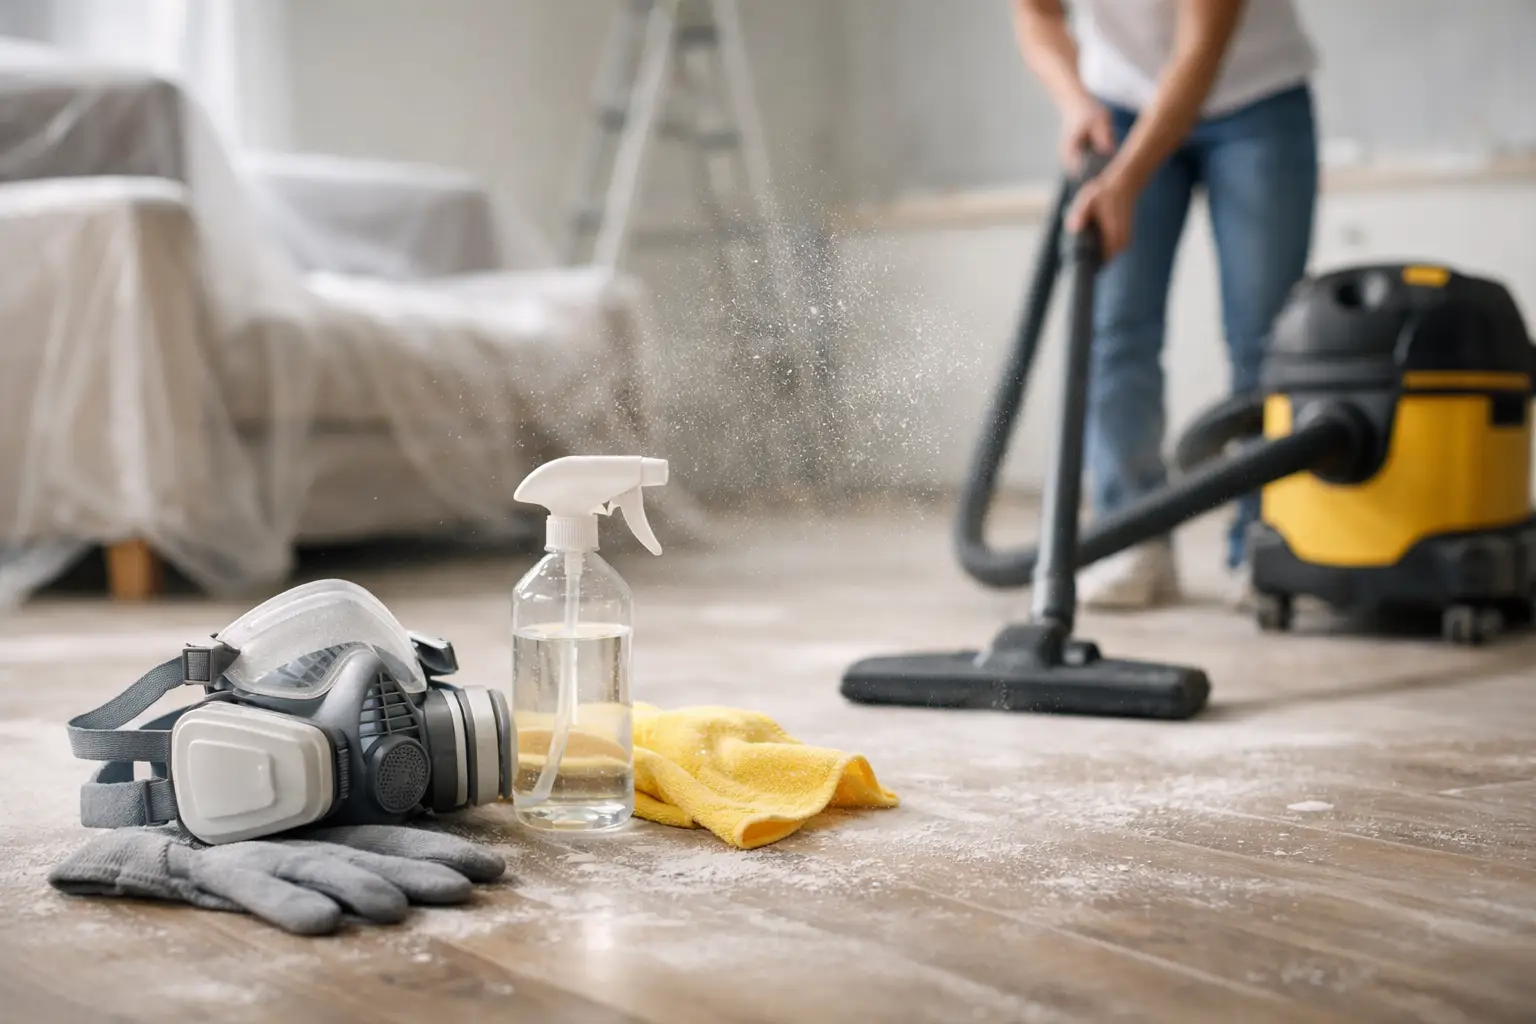
Wear gloves and a well-fitting dust mask, particularly when cleaning drywall dust, insulation residue, or debris from older buildings. Keep children, pets, and anyone with respiratory sensitivities away from the work area until the air and surfaces are clean.
Before using a cleaner on a new countertop, floor, cabinet, or painted wall, check the manufacturer’s care guidance. When in doubt, use a mild, non-abrasive cleaner and test it in an inconspicuous spot first.
Clean from the ceiling down
The order of cleaning matters as much as the products you use. Begin with dry dust removal at the highest points in the room. Use a microfiber duster or vacuum attachment to clean ceiling corners, crown molding, fan blades, vents, recessed lights, window trim, and upper shelves. Microfiber is effective because it captures fine particles instead of simply pushing them into the air.
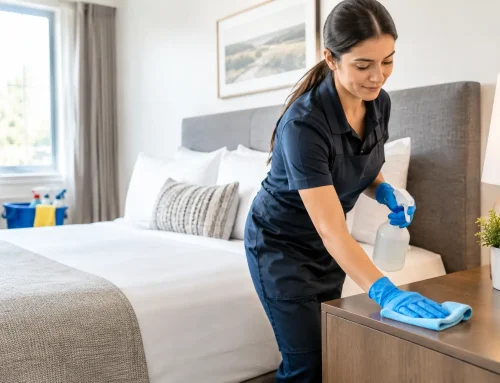
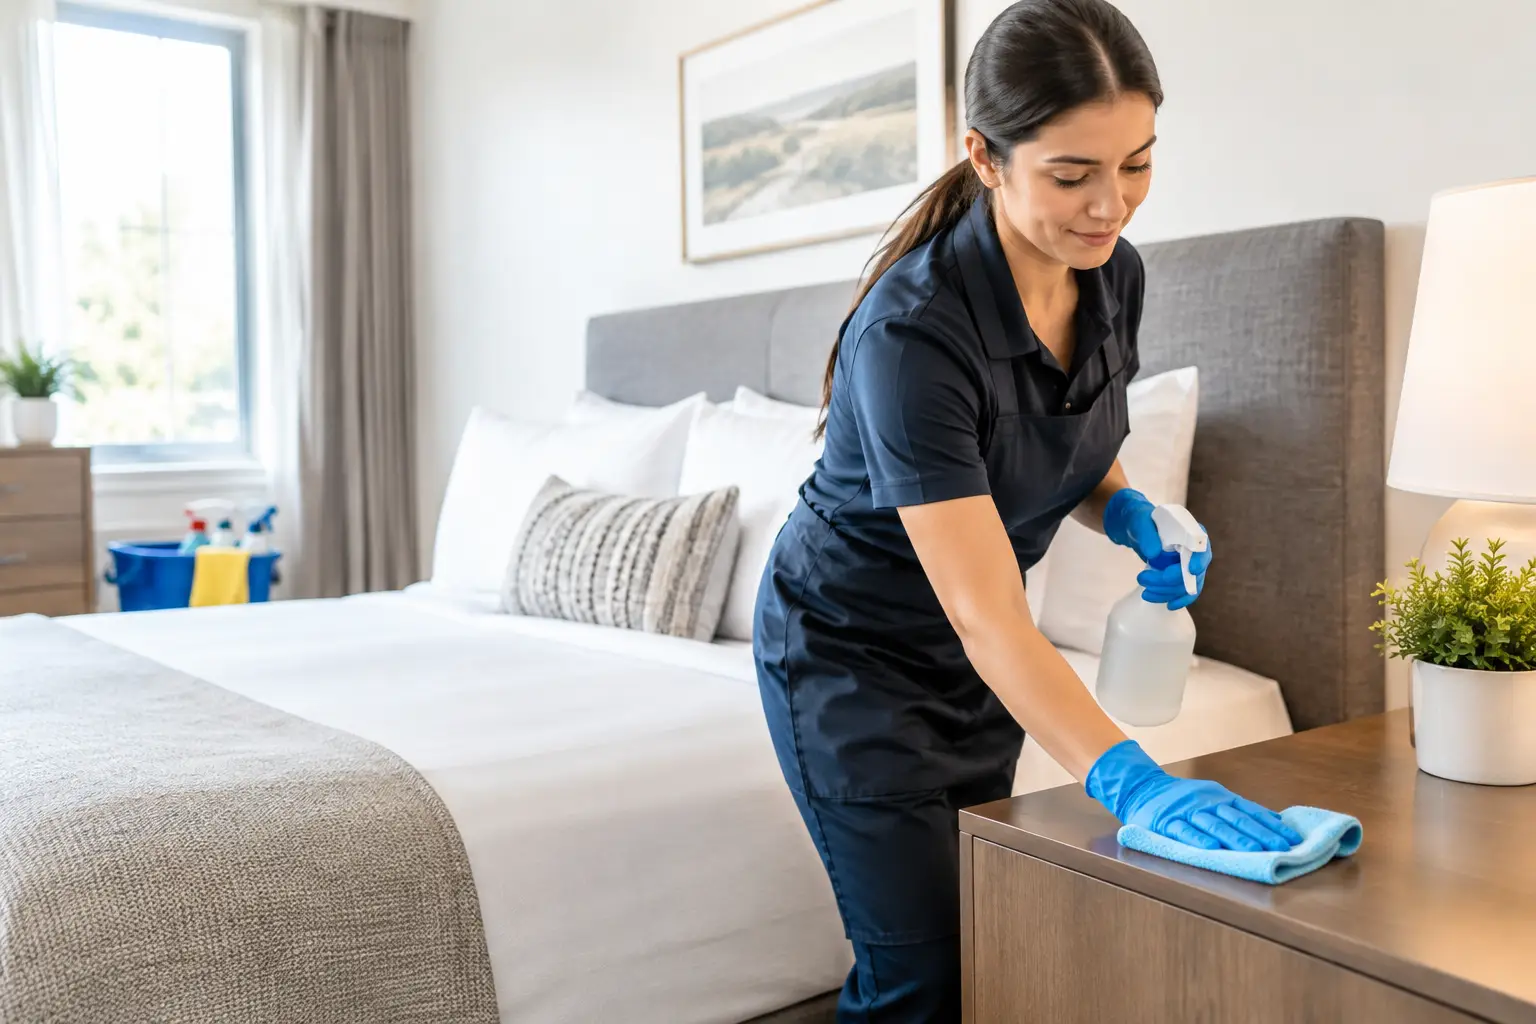
After high surfaces are clean, move to walls, doors, trim, cabinets, and furniture. A slightly damp microfiber cloth works well for most sealed surfaces. Avoid soaking walls or woodwork. Excess water can leave streaks, affect fresh paint, or seep into seams around cabinets and flooring.
Clean inside cabinets, drawers, closets, and built-in shelving before placing items back inside. Renovation dust often enters spaces that appeared closed during construction. Wipe the interior surfaces, vacuum corners with a crevice tool, and allow everything to dry fully before restocking.
Windows deserve extra attention. Dust can settle in tracks, screens, blinds, and frames, then blow back into the room whenever a window is opened. Vacuum the tracks first, wipe them with a damp cloth, and clean the glass last. If there is paint overspray, adhesive, or construction residue, use a method appropriate for the glass and frame material rather than scraping aggressively.
Use the right vacuum for fine particles
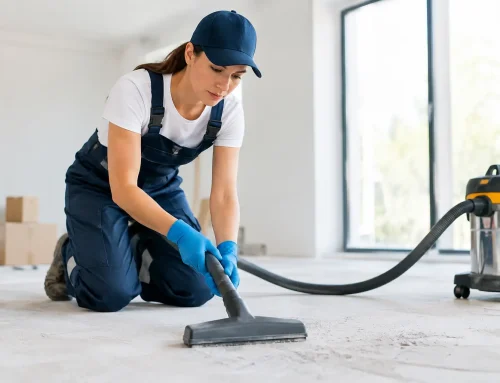
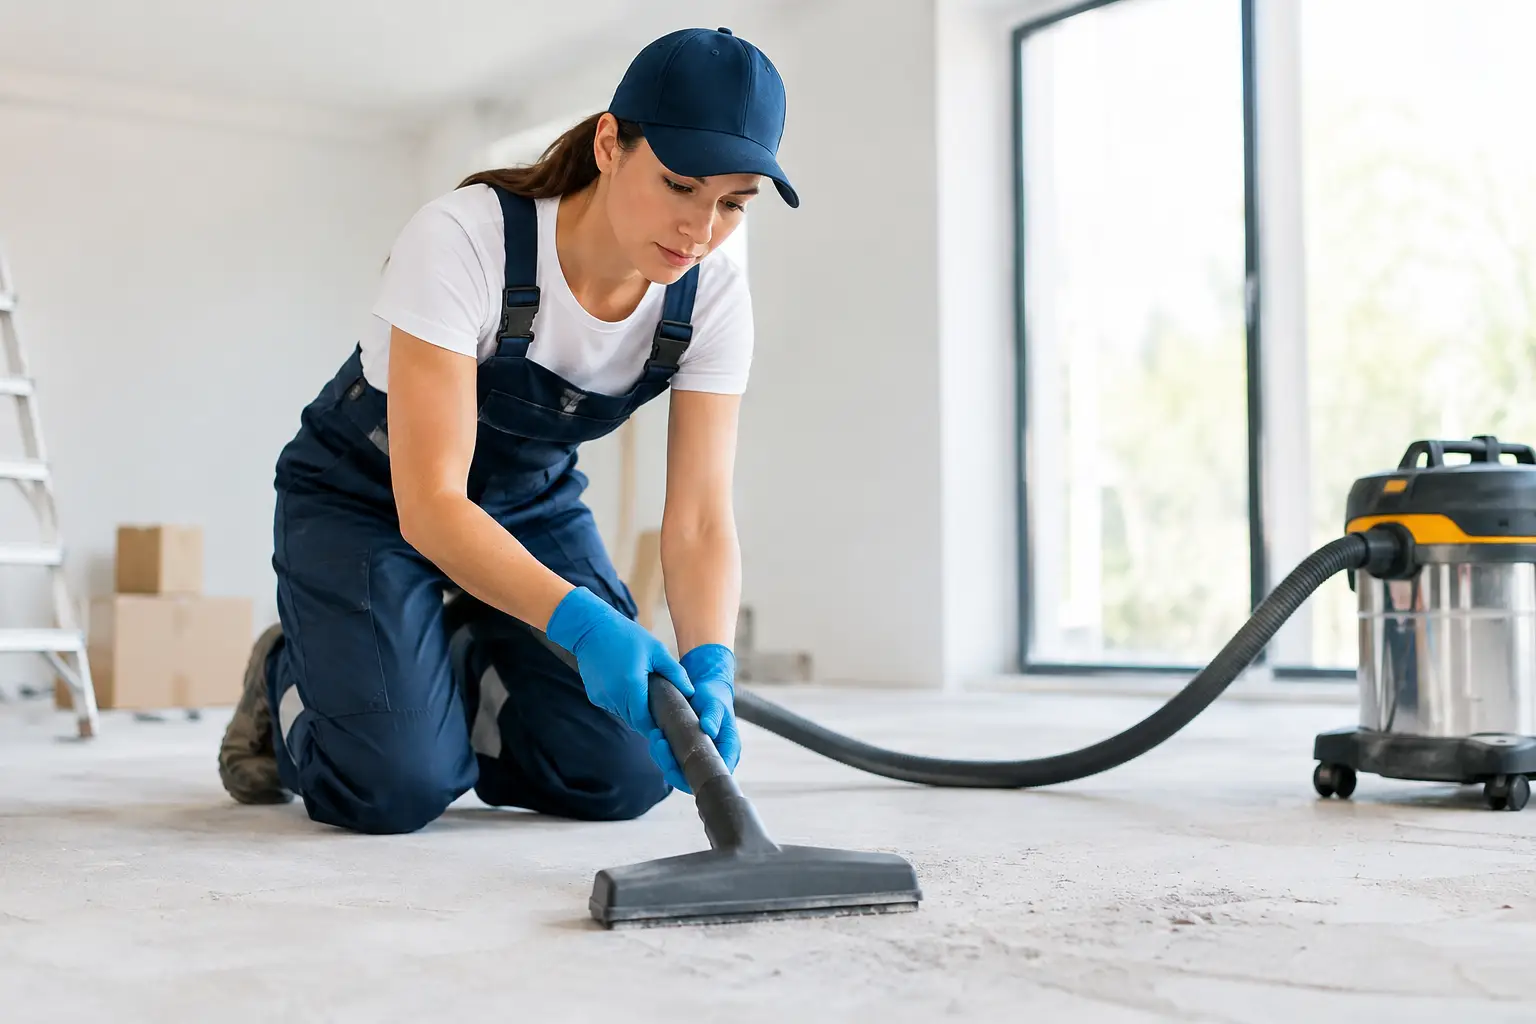
A vacuum with strong filtration is one of the most useful tools for post-renovation cleanup. A machine equipped with a HEPA filter is especially helpful for collecting fine dust that a standard vacuum may release back into the room. Use attachments to reach baseboards, vent covers, upholstery seams, floor edges, and corners.
Vacuum hard floors before mopping. Sweeping with a broom can send fine dust airborne and leave grit behind, which may scratch new flooring when mopped. For carpet, make several slow passes in different directions. Heavy renovation dust can work its way deep into carpet fibers, especially near doorways and work areas.
If dust was extensive, vacuuming once may not be enough. A second pass after wiping surfaces and a final pass after mopping can make a noticeable difference.
Finish floors without damaging new materials
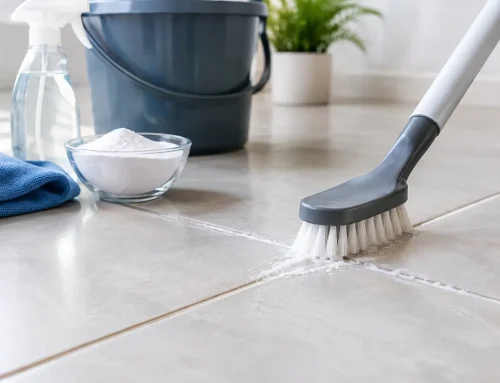
Floor cleaning depends on the material and how recently it was installed. For tile, luxury vinyl, sealed hardwood, laminate, and other hard surfaces, start with thorough vacuuming. Follow with a lightly damp microfiber mop and a cleaning product approved for that flooring type.
Avoid using acidic cleaners on natural stone, excessive water on wood or laminate, and abrasive scrubbers on newly finished floors. If tile and grout were installed or repaired, there may be grout haze or construction film that requires a specialty product. Ordinary floor cleaner may not remove it effectively, and the wrong chemical can dull the surface.
Carpet may look clean after vacuuming but still hold fine dust and odors from the renovation process. Professional carpet cleaning can be worthwhile after larger projects, particularly when sanding, demolition, or drywall work took place nearby. The same is true for upholstered furniture that remained in the space during construction.
Do not forget the air system and overlooked details
Once the visible cleaning is done, focus on the places that determine whether the room stays clean. Replace HVAC filters, wipe vent covers, and have ducts evaluated if there was a major demolition project or a large amount of airborne debris. Duct cleaning is not necessary after every small renovation, but it can make sense when dust was heavy, visible inside registers, or spread through several rooms.
Wash washable curtains, clean blinds, and launder bedding if renovation dust entered bedrooms. Wipe lampshades, wall art, outlet covers, switch plates, appliance exteriors, and the tops of doors. These details are easy to miss, but they are often where lingering dust becomes most noticeable in natural light.
In commercial spaces and short-term rentals, clean touchpoints thoroughly before reopening. Reception counters, desks, handles, bathrooms, break rooms, and customer-facing glass should look finished, not merely free of construction debris. A clean handoff protects the impression your space makes on employees, guests, tenants, and customers.
When professional post-renovation cleaning is the better choice
A small bathroom refresh may be manageable with a careful weekend cleanup. A kitchen remodel, flooring installation across several rooms, commercial build-out, or turnover property is another matter. The more dust-producing work involved, the more valuable a structured post-renovation cleaning service becomes.
Professional cleaners can handle detailed dust removal, interior cabinets, baseboards, bathrooms, floors, fixtures, and final touchpoints without asking you to spend your first days in a new space chasing residue. For property managers and business owners, professional service can also help keep opening dates, move-ins, and guest turnovers on schedule.
CJ Cleaning Services helps connect Catawba County-area clients with vetted independent cleaning professionals for customized post-renovation cleaning. Service can be tailored to the condition of the property, the materials involved, and the level of detail needed before move-in, reopening, or final presentation.
A renovation should end with a space that feels ready, not a lingering cleanup project. Give fine dust time to settle, clean in the right sequence, and bring in dependable help when the scope calls for it. That final detailed clean is what lets the new work stand out for the right reason.